










Table of Contents
Quick Summary
- Place the chiller on a level surface with enough space for airflow.
- Connect the tub outlet to the chiller inlet and the chiller outlet to the tub inlet.
- Fill and prime the water circuit before connecting power.
- Test circulation and inspect every fitting before starting cooling.
- Follow the manufacturer’s electrical, ventilation and maintenance requirements.
Installing a cold plunge chiller is usually a straightforward process, but the order matters. The chiller must have a clear water path, a fully primed circulation system and stable water flow before cooling begins.
This guide applies to common all-in-one cold plunge chillers with built-in circulation and filtration. Connection types and control systems vary, so always compare these general steps with the installation manual supplied with your unit.

1. Prepare the Site
Choose the installation position before filling the tub. Once the hoses are connected and the system contains water, moving either the tub or chiller can place unnecessary strain on the fittings.
Set the chiller on a flat, stable surface close to the tub, leaving enough space to inspect the filters, hoses and electrical connections. A shorter and more direct plumbing route normally supports better water flow and makes future maintenance easier.
Leave Space for Airflow
A chiller removes heat from the water and releases it into the surrounding air. If the ventilation openings are blocked, warm exhaust air can circulate back through the condenser, reducing cooling performance and increasing the workload on the compressor.
Follow the clearance requirement stated in the manufacturer’s manual and keep all air vents open. Avoid closed cabinets, narrow storage spaces and positions where a wall or another machine blocks the exhaust side.
Outdoor installations should also be protected from direct sunlight, standing water and severe weather. A splash-resistant housing is not designed for immersion or continuous exposure to heavy water.
Check the Power Supply
Confirm that the chiller is designed for the voltage and frequency available at the installation site. Regional versions may use different electrical specifications, so the rating label on the machine should take priority over general online advice.
Connect the chiller to a properly grounded outlet with suitable GFCI or RCD protection, following local electrical regulations. Keep the plug and outlet dry, and do not use a damaged cable, loose socket or unapproved extension lead.
Inspect the Parts
Identify the water inlet, water outlet, hoses, seals, valves, filter housing, drain point and electrical controls before starting the installation. Check the labels on the machine rather than assuming that a higher or lower port represents a particular water direction.
Inspect each hose and fitting for cracks, damaged threads or missing seals. A connection may appear secure while the system is empty but begin leaking as soon as the circulation pump creates pressure.
2. Connect the Hoses
For an all-in-one cold plunge chiller, the standard water path is:
This arrangement allows warmer water to leave the tub, pass through the filtration and cooling system, and return at a lower temperature. Reversing the hoses may restrict circulation, trigger a flow warning or prevent the chiller from operating correctly.
Follow the IN and OUT Labels
Locate the IN and OUT markings on the tub and chiller before attaching the hoses. Port height, color and physical position are not reliable indicators because manufacturers use different plumbing layouts.
Connect the water circuit in this order:
- Connect the tub outlet to the chiller inlet.
- Connect the chiller outlet to the tub inlet.
- Install the correct washer or seal inside each fitting.
- Tighten every connection securely.
- Open the water valves if the system includes them.
Keep the Hoses Open
Route the hoses in smooth curves without sharp bends, tight loops or flattened sections. A kinked hose restricts circulation, which can trigger a flow warning and reduce cooling performance.
Keep the hoses away from sharp edges, hot surfaces and areas where people may step on them. If the hoses are long, support their weight so they do not pull continuously on the chiller connections.
Avoid adding unnecessary hose length or extra fittings. Every additional bend and connection increases resistance within the water circuit and creates another possible leak point.
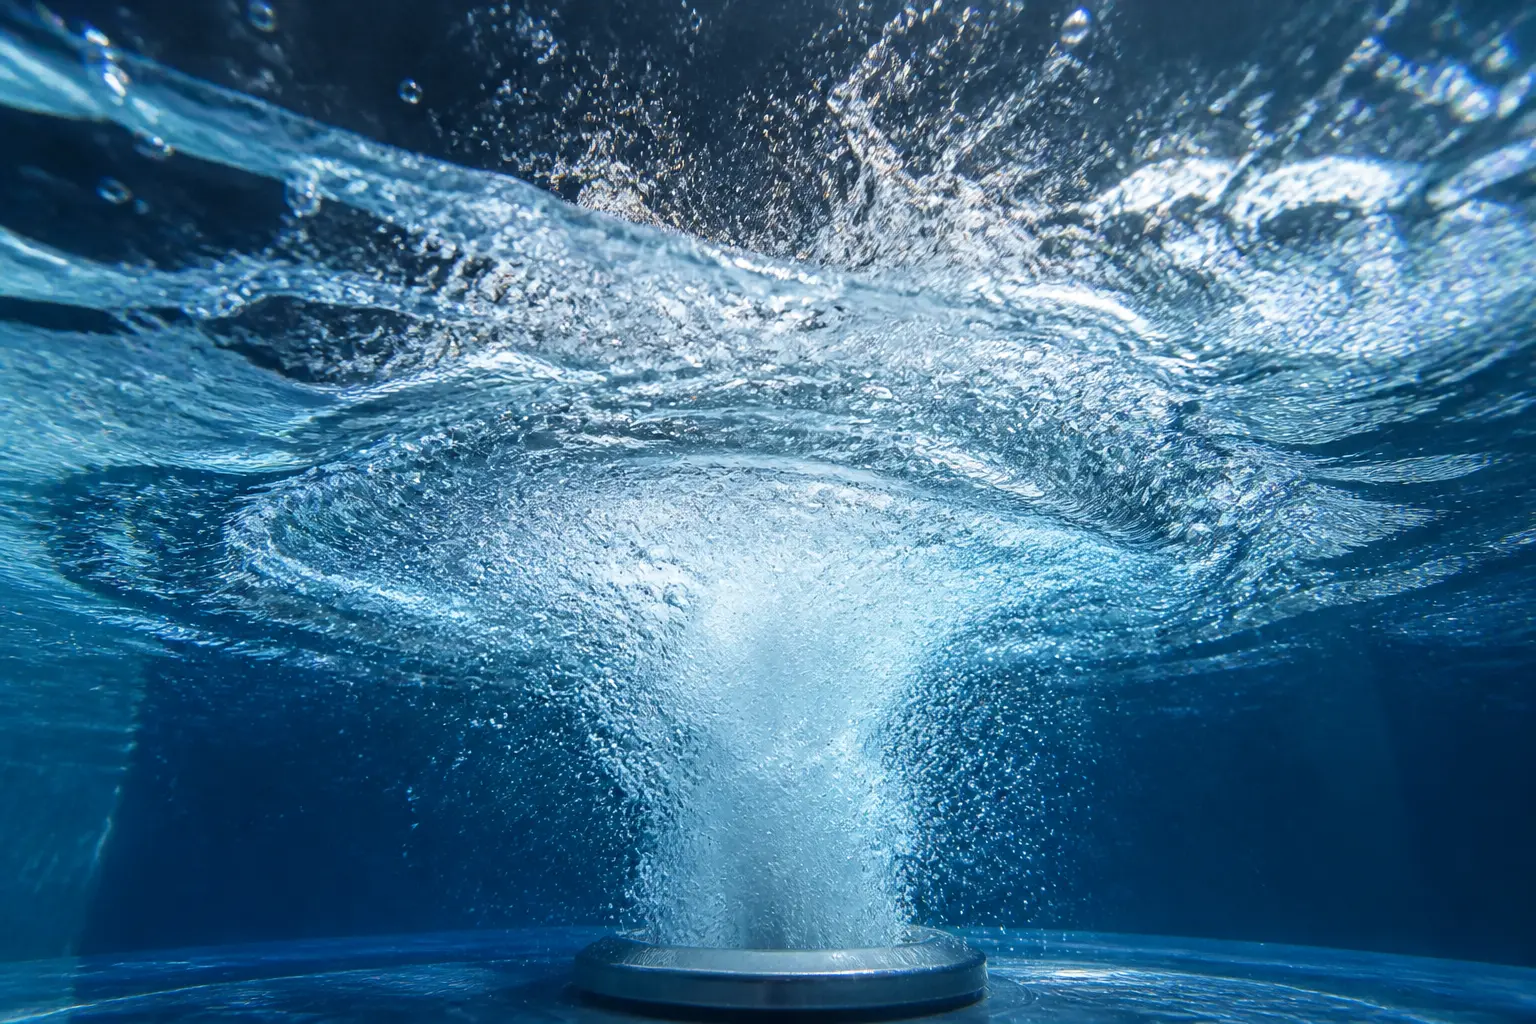
3. Fill and Prime
Never run a cold plunge chiller with an empty or air-filled water circuit. The circulation pump depends on a continuous water supply, and dry operation can prevent startup or damage the pump.
Fill the tub to the minimum level specified by the tub and chiller manufacturers. The water intake must remain fully submerged while the system is operating, including when a user enters the tub and displaces water.
Fill the Water Circuit
Before connecting electrical power, confirm that both hoses are secure and all water valves are open. Fill the tub gradually, allowing water to enter the inlet hose and move through the internal circulation system.
Watch every fitting as the water level rises. It is easier to correct a slow leak at this stage than after the pump has increased pressure inside the circuit.
The water level may drop slightly as the hoses, filter housing and internal plumbing fill. Add more water if necessary so that the intake remains safely below the surface.
Remove Trapped Air
Air trapped inside the inlet hose, filter chamber or pump can stop circulation even when the tub appears full. Common signs include irregular pump noise, repeated air bubbles, unstable return flow or a water-flow warning on the display.
Follow the priming method specified for your chiller. Depending on the system design, this may involve filling a designated priming chamber, opening an air-release point or allowing gravity to fill the internal pump.
Do not open a filter housing or service port unless the manufacturer identifies it as part of the priming process. Once the trapped air has escaped, close every cap and fitting securely before starting the pump.
The system is ready for its first circulation test when the inlet hose is full, the pump has access to water and no large air pockets remain in the plumbing.
4. Test Water Flow
Connect power only after the tub is filled, the valves are open and the water circuit has been primed. Dry your hands before touching the plug or controls, and keep electrical connections away from wet floors or areas where water may collect.
The exact startup controls vary, but the safe installation sequence remains consistent:
- Fill the tub to the required level.
- Open all water valves.
- Prime the circulation system.
- Inspect the hose connections.
- Connect the chiller to power.
- Activate the electrical safety device if required.
- Start the circulation pump.
- Confirm stable water flow.
- Start cooling.
If the control system allows the pump to run without the compressor, test circulation first. This isolates the plumbing stage and makes it easier to identify an airlock, blocked hose or leaking connection before cooling begins.
Check the Return Flow
Look at the return point inside the tub and confirm that water is flowing back steadily. Some displays show a flow reading or pump status, but a visual inspection is still important because the return stream reveals air bubbles and unstable circulation.
Switch off the chiller if no water returns to the tub, the pump sounds dry or large air bubbles continue to appear. Check the water level, hose direction, valves and priming condition before trying again.
Inspect for Leaks
Examine every hose connection, valve, filter housing and drain point while the pump is operating. Pressure created by the circulation system may reveal leaks that were not visible when the chiller was off.
A clean, dry cloth can help identify small amounts of moisture around a fitting. If you find a leak, switch off and unplug the chiller before tightening, removing or resealing the connection.
Do not use excessive force to stop a leak. A missing washer, damaged seal or cross-threaded fitting should be corrected rather than tightened beyond its normal limit.
5. Start Cooling
Once the water is circulating steadily, set the target temperature below the current water temperature. For the first test, choose a moderate reduction so that you can confirm the cooling response without waiting for the tub to reach an extreme setting.
Record the starting temperature and monitor it over a reasonable period. Cooling is gradual, and the time required depends on the amount of water, ambient temperature, insulation, sun exposure and capacity of the chiller.
Watch the First Cycle
During the first cooling cycle, continue checking the return flow, water temperature and hose connections. The system should maintain circulation while the measured water temperature gradually moves toward the selected target.
Some chillers use a short compressor protection delay after startup or after a setting has changed. If circulation is normal but cooling does not begin immediately, check the manual before treating the delay as a fault.
Avoid switching the compressor rapidly on and off. Repeated short cycling creates unnecessary stress on the refrigeration system and may activate built-in protection.
Reduce Heat Gain
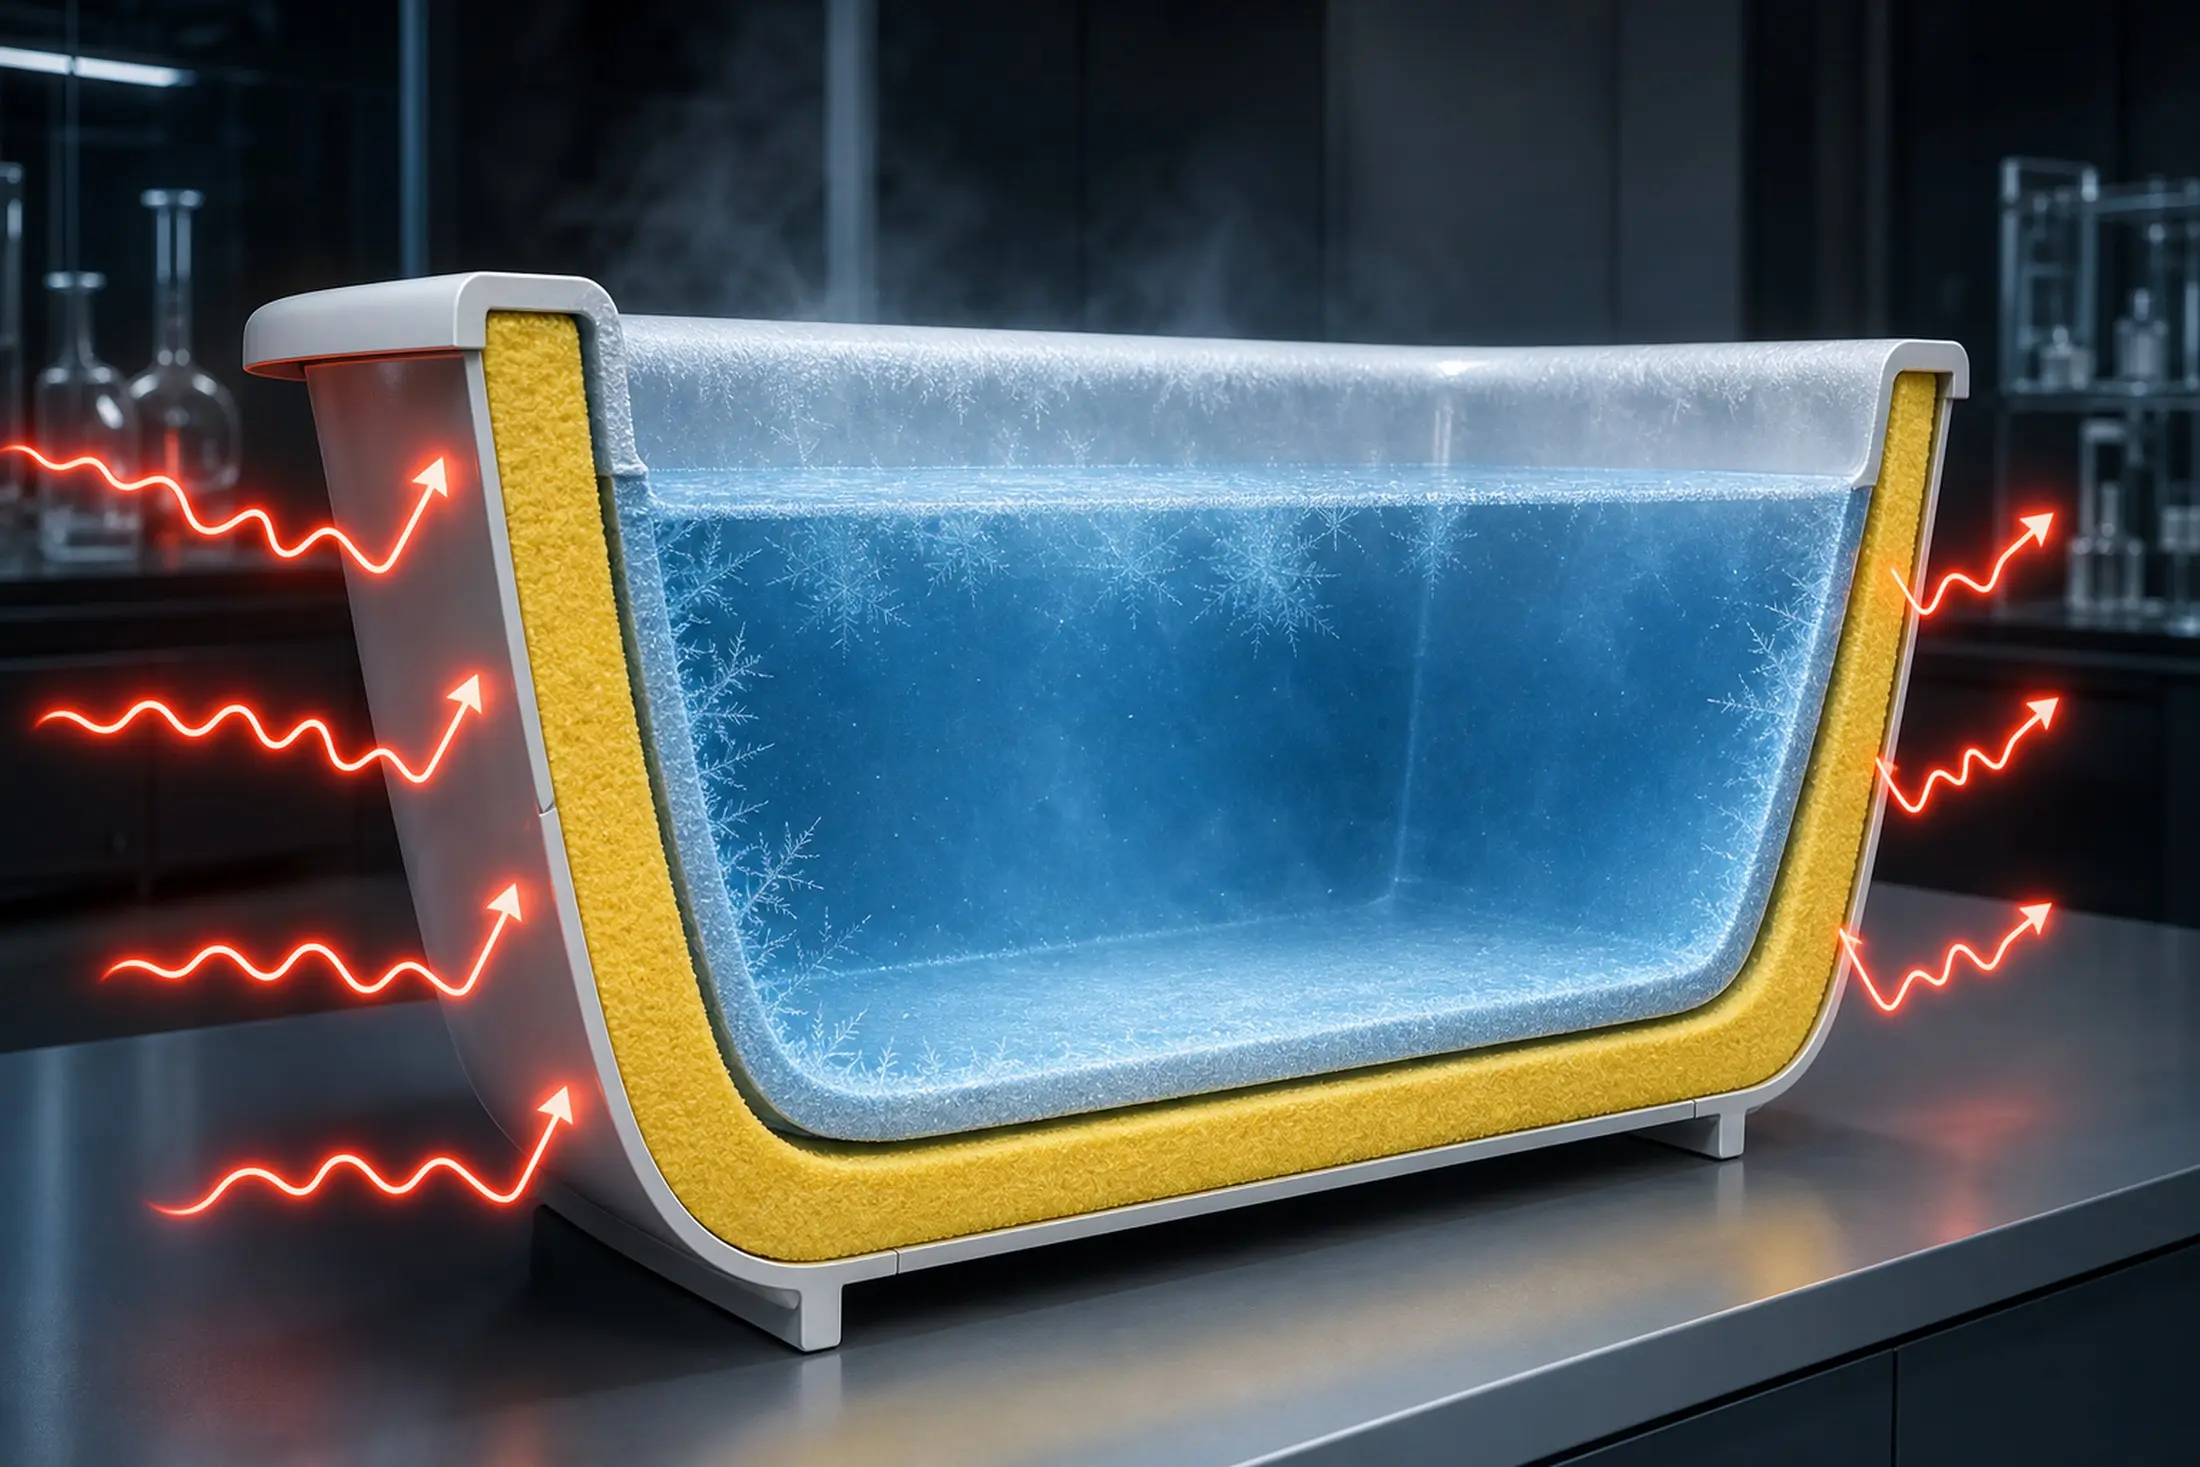
A chiller cools more efficiently when the tub is insulated and protected from external heat. Keeping the tub covered between uses can make a substantial difference, particularly in warm rooms or outdoor installations.
Cooling performance can also improve when you:
- Keep the chiller out of direct sunlight.
- Leave the ventilation openings unobstructed.
- Prevent warm exhaust air from returning to the intake.
- Use an insulated tub and fitted cover.
- Keep the hoses away from hot surfaces.
- Avoid adding warm replacement water during cooling.
Do not compare cooling times between different installations unless the tub volume, starting temperature, ambient conditions and insulation are similar. A longer cooling period does not automatically mean that the chiller is faulty.
6. Fix First-Start Problems
Most installation problems come from trapped air, incorrect hose routing, closed valves or restricted water flow. Checking these basic conditions in a logical order is faster and safer than repeatedly restarting the chiller.
No Water Flow
If no water returns to the tub, switch off the system and trace the full water path. Confirm that the intake is underwater, the valves are open and the hoses follow the marked inlet and outlet direction.
A folded hose, blocked filter or trapped air pocket can also interrupt circulation. Correct the restriction and repeat the manufacturer’s priming procedure before restarting the pump.
Flow Warning
A flow warning means the chiller is not detecting enough water movement for safe operation. Running the compressor without adequate circulation can create uneven cooling and place unnecessary stress on the internal system.
Check the water level, hose position, valves, filter and priming condition. Do not repeatedly clear the warning without finding and correcting its cause.
Water Leak
Leaks around external fittings are commonly caused by a missing seal, damaged washer, loose connection or cross-threaded fitting. Switch off and unplug the chiller, then isolate or drain the affected line before removing the connection.
Reinstall the fitting with the correct seal and confirm that the threads align smoothly. Contact technical support if water appears to come from inside the chiller housing rather than from an accessible connection.
Slow Cooling
If water circulates normally but cools more slowly than expected, check the target setting and installation environment before assuming that the refrigeration system has failed. High ambient temperature, direct sun, poor ventilation and an uncovered tub all increase the heat that the chiller must remove.
A clogged filter or restricted hose can also reduce cooling performance by limiting the amount of water passing through the system. Inspect the complete water path and keep the air vents clear.
No Power
Confirm that the outlet supplies the correct voltage and that the plug is fully inserted. Check the main power control and any built-in safety switch identified in the manual.
If a GFCI, RCD or circuit breaker trips again after being reset, stop using the chiller. Never bypass electrical protection or continue operating equipment that repeatedly trips a safety device.
7. Maintain the Setup
Inspect the installation again after the first few operating cycles. Changes in water temperature and hose position may reveal a slow leak or loose fitting that was not visible during the initial test.
Follow the manufacturer’s schedule for cleaning filters, replacing consumable parts and draining the internal water circuit. Maintenance frequency varies with water quality, usage and the number of bathers, so a commercial or shared system normally requires more frequent checks than a private home setup.
Check the Water System
A regular inspection should cover:
- Tub water level
- Return-flow strength
- Filter condition
- Hose position
- Seals and fittings
- Drain connections
- Water clarity
- Unusual pump noise
- Warning messages
A gradual reduction in return flow often points to a dirty filter or developing restriction. Correcting the problem early helps maintain cooling performance and reduces strain on the circulation pump.
Use Compatible Water Care
Only use water-treatment products that are compatible with the tub, pump, seals, filters and heat exchanger. Chemicals designed for a swimming pool or hot tub are not automatically suitable for every cold plunge system.
Follow the approved concentration and testing instructions supplied by the manufacturer. Excessive or incompatible chemicals can damage internal materials even when the water looks clean.
Protect Against Freezing
Water left inside a chiller can freeze, expand and damage the pump, filter housing, heat exchanger or internal plumbing. Switching the chiller off does not remove this risk.
If the installation may be exposed to freezing temperatures, follow the manufacturer’s winterization procedure. This normally includes disconnecting the hoses, opening the designated drain points and removing all remaining water before storage.
Related Articles
FOCEEDO Partners with Nordu Spa in Türkiye
FOCEEDO and Nordu Spa begin a distribution partnership in Türkiye, adding FOCEEDO ice bath chillers to Nordu Spa’s cold-plunge range.

Meet FOCEEDO at AusFitness Industry 2026
Meet FOCEEDO at Stand 116 during AusFitness Industry, 11–12 September 2026 at ICC Sydney, and discuss cold recovery and partnerships.
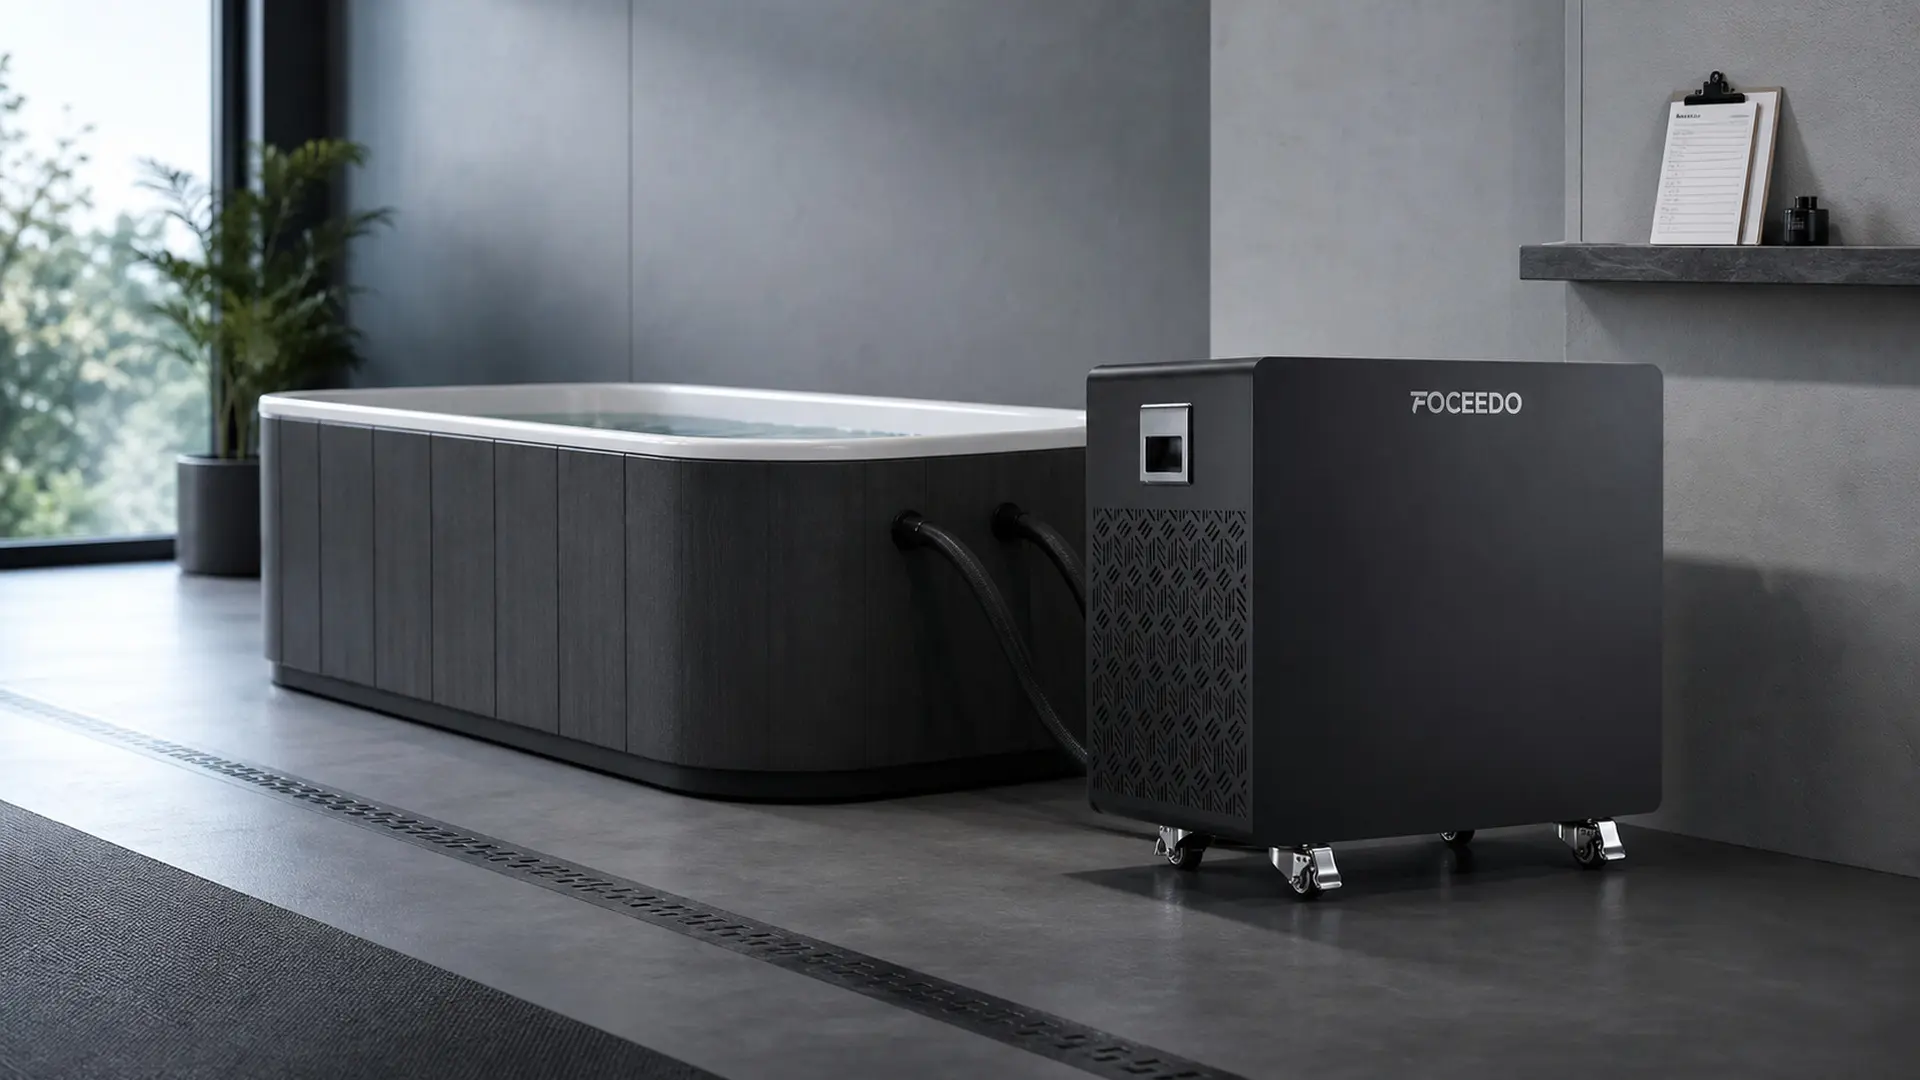
Ice Bath Chiller Maintenance Guide for Commercial Facilities
Use this commercial ice bath chiller maintenance guide to build daily, weekly, and periodic checks for flow, filters, leaks, airflow, and water care.